Sunday, May 22, 2011

Testing pH

   I haven't posted about the garden yet, but earlier this spring we built an L-shaped raised bed garden in the sunniest spot we've got.  I've never forayed into the world of vegetable gardening or any type of horticulture for that matter but I decided to have a go.
   This spring I took an archeology class and I learned that many early North American cultures interplanted corn, beans and squash in a system known as the "three sisters."  The corn provides storable carbohydrates and a structure for the beans to climb, the beans are nitrogen fixing and supplement protein, and the squash provides weed control by covering the ground.  I thought this was pretty cool and decided I wanted to give it a shot, this was the real motivating factor behind getting this garden built.  I don't expect tremendous yields, I guess it's more an experiment than anything, but we'll see.
    I had mentioned that I've never tried to grow any vegetables before so I'm trying to eliminate as many factors that might lead to failure as I can, one of these factors being the acidity or basicity of the soil, otherwise known as pH.  I went out and bought a DIY tester for something like $6 at the local garden supply store, and my lovely assistant/photographer took some pictures of the process.


The first thing you want to do is gather a soil sample, and fill the testing device to the soil fill line.


Then take one of the supplied capsules, crack it open, and put it's contents in with the soil.


Next add water, give it a shake, and wait until soil and particulates settle to the bottom.
Compare the color of the solution with the color chart on the testing device.  Usually the desired pH range is slightly acidic, depending on what you trying to grow, there's charts available.  


As you can see, my soil is right around 6.0, and I'm going with it.
It's recommended that you take samples from various spots in the garden. 

Thursday, May 19, 2011

Skurka

    On September 5, 2010, budding adventurer Andrew Skurka completed a 4,680 mile traverse of an astonishing chunk of Alaska & the Yukon,  his only modes of transport being skis, his feet and a packraft.
National Geographic did a feature article in the March 2011 issue, and you can read more at Skurka's website.

http://andrewskurka.com/AK10/index.php


   I found this video and I thought it was pretty neat, pretty much all visual stuff, no interviews or the like.  This was recorded when a couple guys joined Andrew for a small portion of his trip.


Andrew Skurka's Alaska Yukon Expedition: two legs from Roman Dial on Vimeo.
 
I found the video on this Finnish guy's hiking blog, there's a trip report there.

http://www.hikinginfinland.com/

Tuesday, May 17, 2011

Strawberry Rhubarb Cobbler...


Preheat Oven to 350°F
Fruit mixture
·         4 1/2 cups rhubarb stalks cut into 1-inch pieces (Trim outside stringy layer before cutting)
·         1 1/2 cups strawberries, stemmed and sliced
·         1/2 cup white sugar
·         2 Tablespoons of quick cooking tapioca
·         1 teaspoon of grated orange peel
Cobbler crust
·         2 Tbsp white sugar
·         1 cup all purpose flour
·         1 1/2 teaspoon baking powder
·         1/4 teaspoon salt
·         1/4 cup butter
·         1/4 cup milk
·         1 egg, lightly beaten

1 In a bowl, mix the rhubarb and the strawberries with the sugar, tapioca, and orange zest. Let sit to macerate for 30 minutes to an hour.
2 In a medium bowl, combine 2 Tablespoons of sugar, the flour, baking powder and salt. Cut the butter in with a fork or pastry blender until the mixture resembles coarse crumbs. Stir in the milk and egg until just moistened.

3 Pour fruit into a 2-quart casserole dish. Drop the batter on the fruit. Bake in a 350°F oven for 35 minutes until cobbler crust is golden brown.
Serve with whipped cream or over Vanilla Bean ice cream (Ice cream was a lot better)


Monday, May 16, 2011

Post one.

    I've been thinking about starting this blog for a long time, and in turn I've had a long time to think about the first post.  That hasn't gotten me too far.  I originally thought it would be cool to start with a long but super interesting adventure to really captivate you, the reader.  It later crossed my mind that I would probably be unable to hold your attention for long enough for you to finish reading the story, this being the internet and all.  It's also kind of one of these stories that builds up, without much opportunity to skimp on details in the beginning.  In any event, I realized the blogs I most enjoy are the ones with minimalist jibber jabber and an abundance of cool photographs.
    So, before I find I've been typing too much here are some pictures of my spring break trip to Great Smokey Mountain National Park, with captions/descriptions.


Unpacking wet gear.


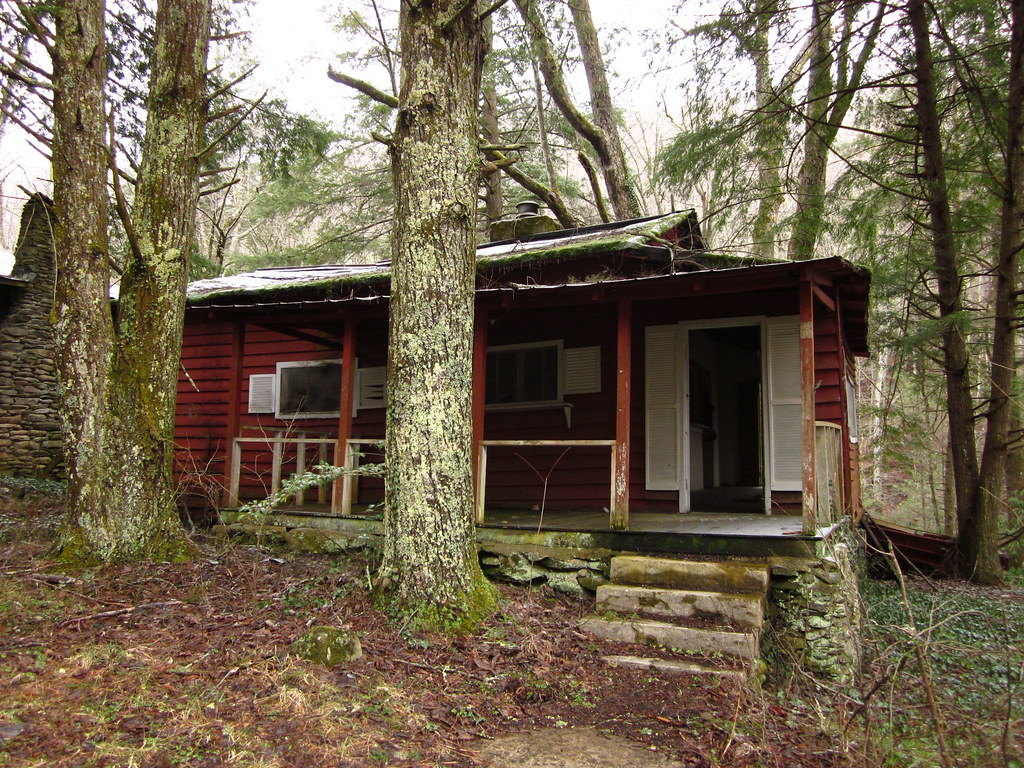
A pleasant summer home in the Smokies, long since abandoned.


A snowy footbridge.


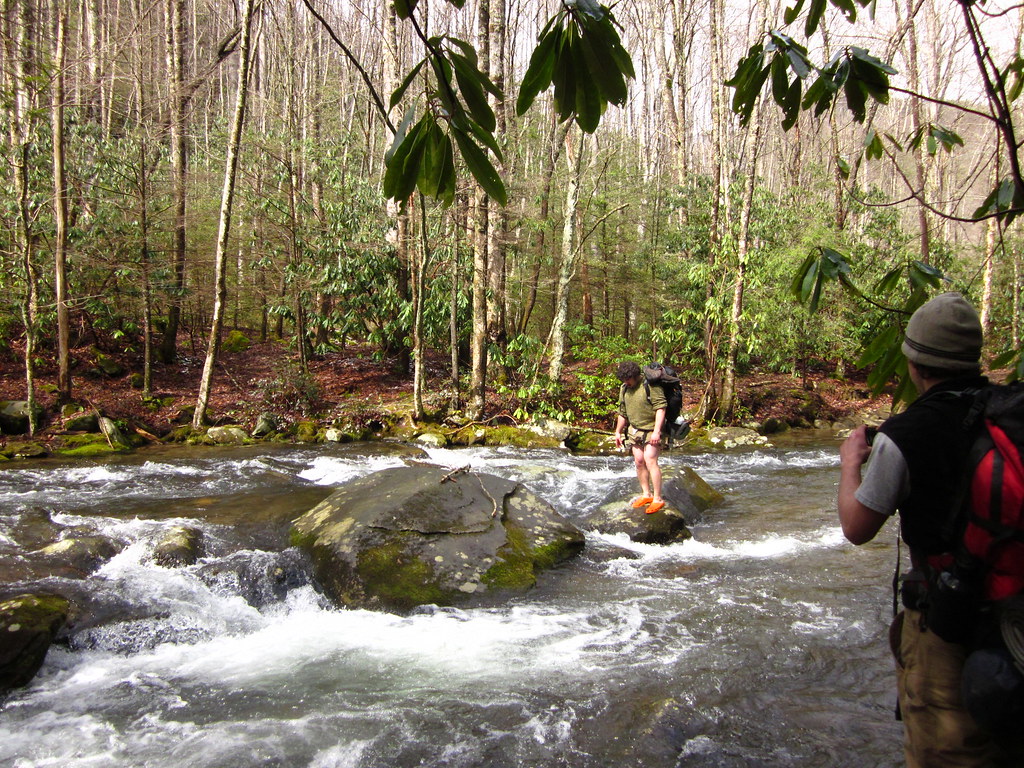
A nice, cold river ford. Wayne showing some skin.


The morning sun on a strategically placed stack of barely dry boots.


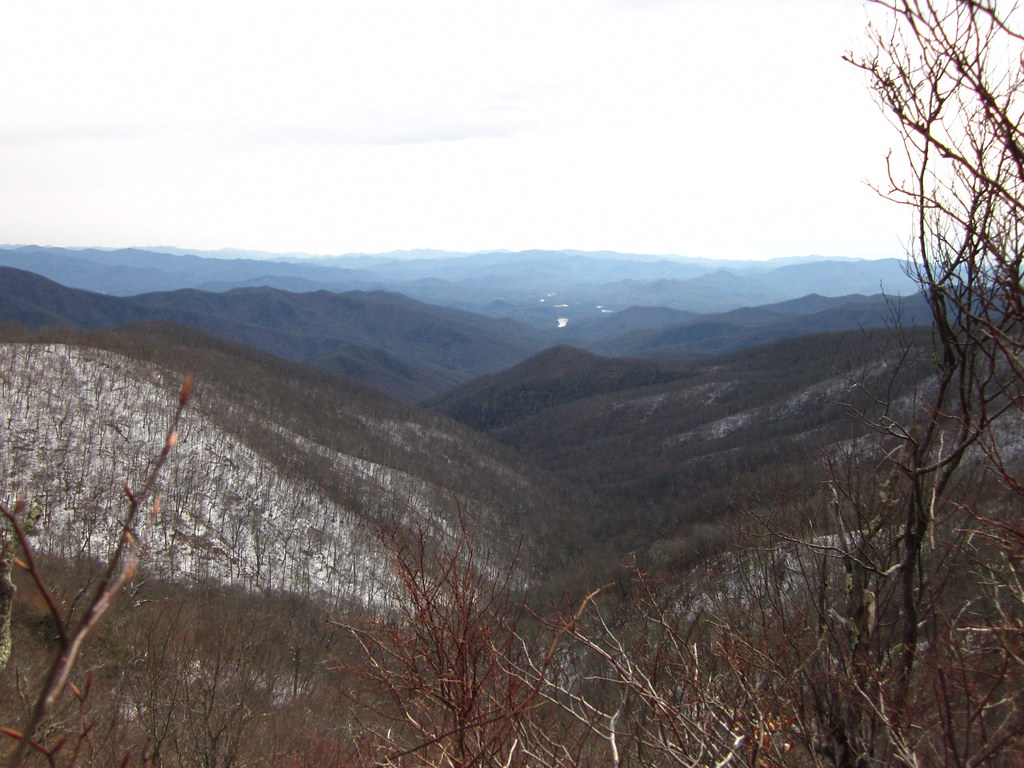
A pretty classic Smokies shot.  Tennessee side.


Survival fire.


And to close the post, a cliche waterfall photo.

For the rest of them and more detailed descriptions, you can view my Flickr photostream.  There's a link somewhere to the right.